
The S series bonnet has a functional layout with two intake ducts on the left and right sides in the center of the carbon bonnet. The carbon bonnet type S is available in three types: S1, full carbon on both sides, S2, carbon/FRP, and S3, all FRP. An aluminum net is available as an option. For safety reasons, the bonnet can be used safely without bonnet pins by using the genuine striker when driving on the street. However, when driving on a circuit or other sports, the bonnet is lightweight and the bonnet lock may come off due to wind pressure, so we recommend using the bonnet pins for safety. We recommend applying a UV-cut clear coat to the carbon bonnet to maintain its luster for a long time.
S2000 AP1/2 Carbon Bonnet
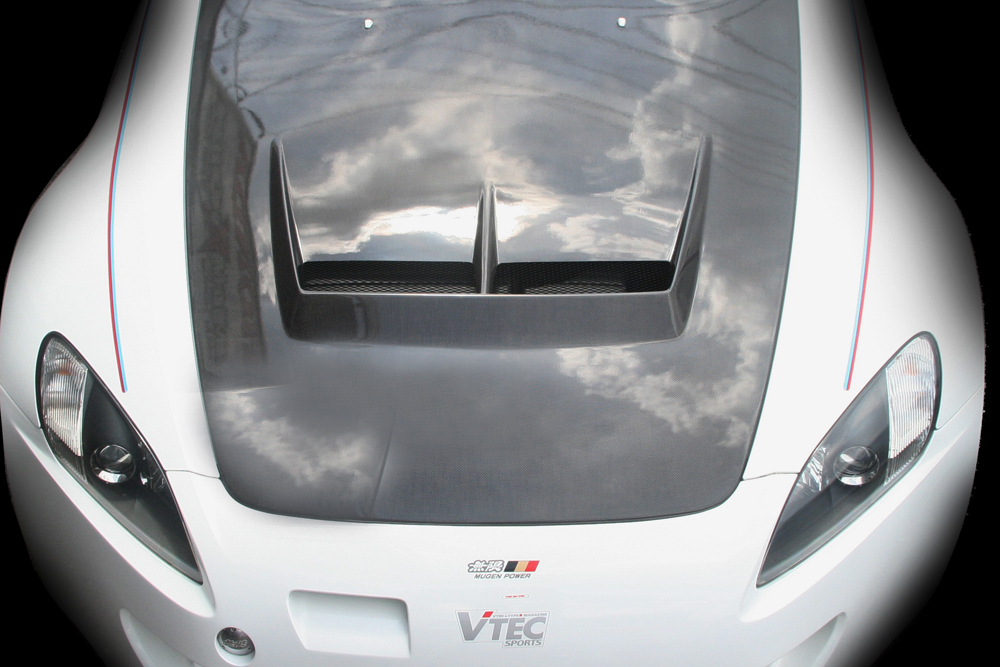
The S series carbon bonnet has a functional layout with two intake ducts on the left and right sides in the center. The carbon bonnet type S is available in three types: S1, full carbon on both sides, S2, carbon/FRP, and S3, all FRP. All are made to order, so please contact us for delivery dates.
Price range: ¥118,000 through ¥218,000 Tax excluded
|
Carbon bonnet with plain weave on both sides |
■This is the S1 model carbon bonnet type with plain weave on both sides. |
|---|---|
|
Bonnet with plain weave carbon on the back and FRP on the back |
■This is the S2 model, a bonnet type with plain weave carbon on the back and FRP on the back. |
|
Bonnet made entirely of FRP on both sides |
■This is an S3 model with a bonnet type that is made entirely of FRP on both sides. |
■Installation is done using a bonnet striker, so it can be easily attached with a bolt-on method.
■When installing, be sure to adjust the left/right and front/rear clearances as well as the height from the left and right fenders.